£0.00 0

Cart

No products in the cart.

Yorkshire Dales · Est. 1990s

The wild world of thread

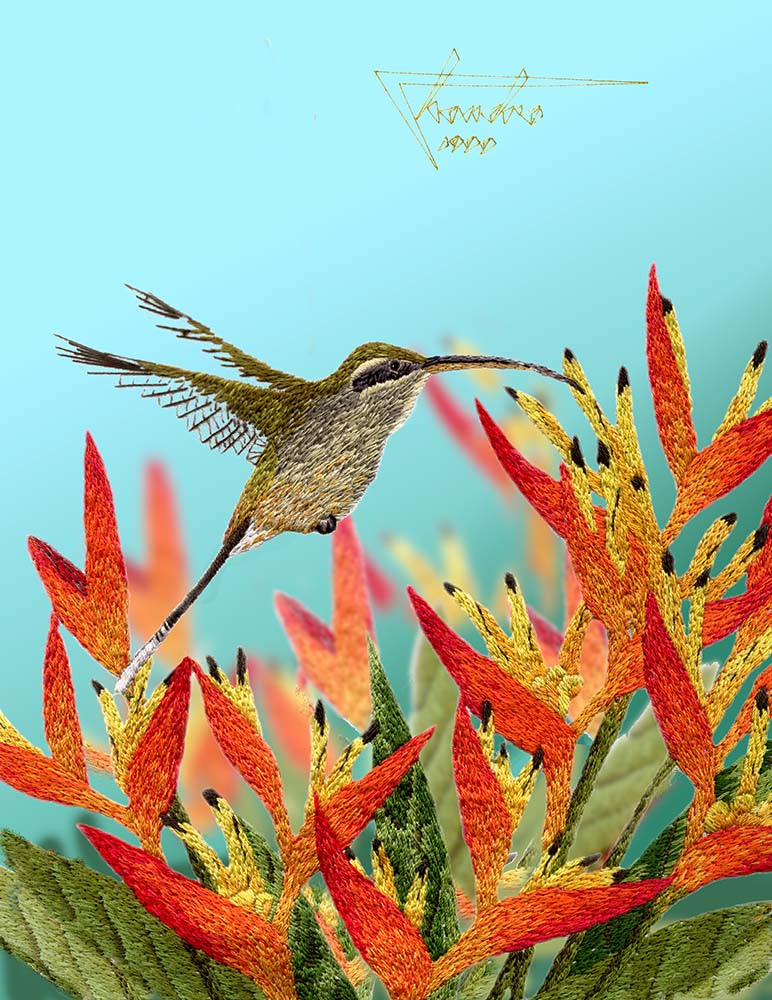
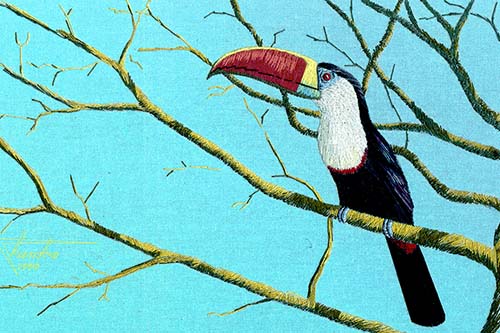
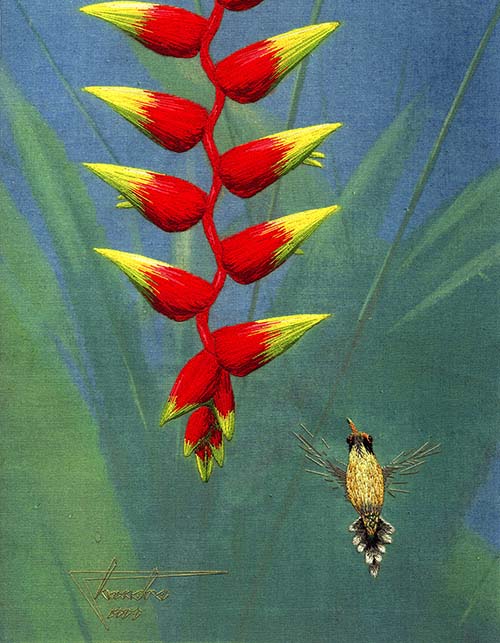
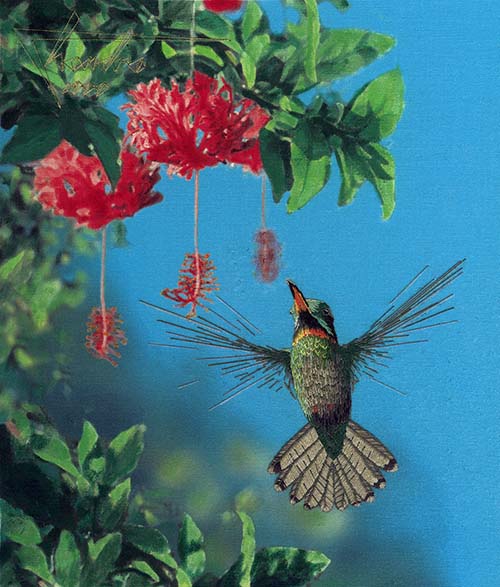
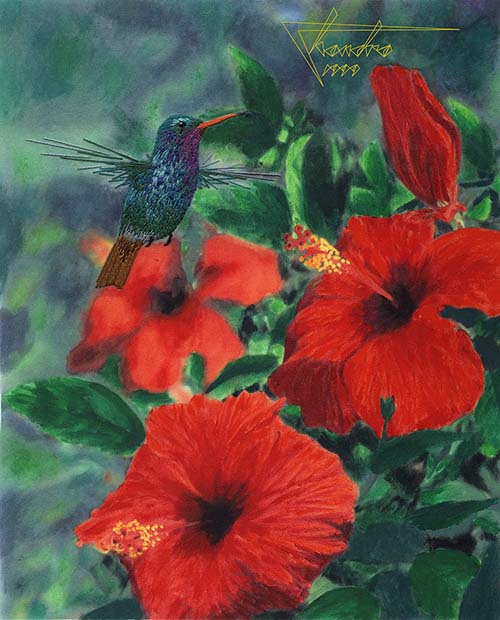
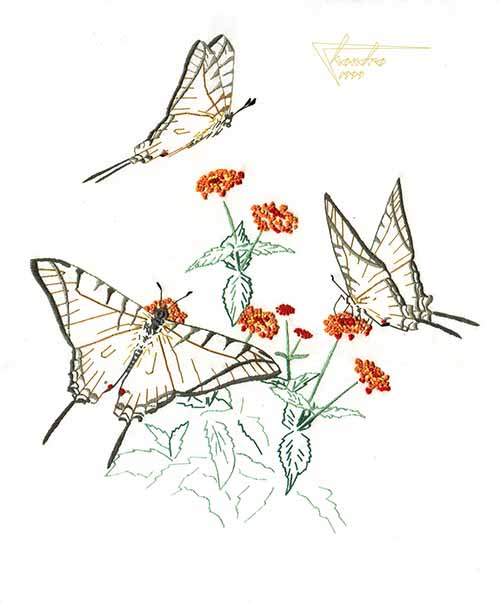
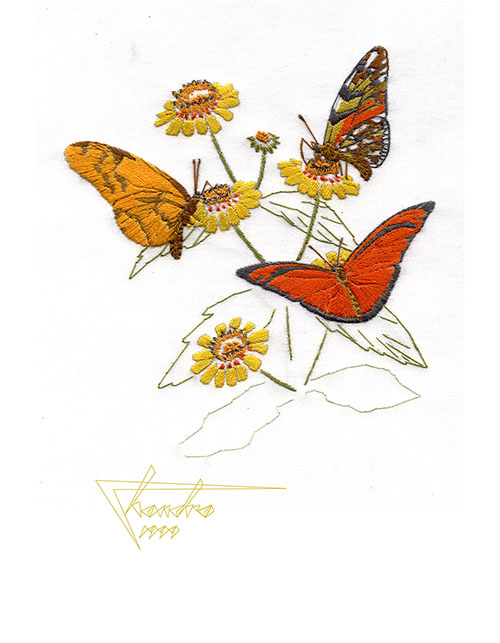
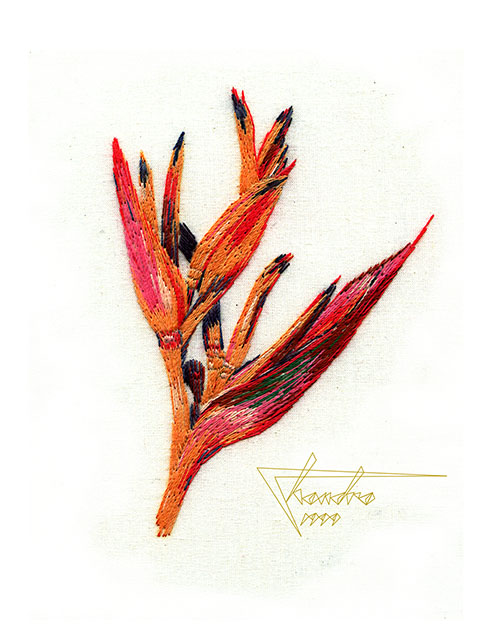
Chandra and Robert blend tropical biology with embroidery art — creating breathtaking thread paintings of wildlife and nature, pioneering this unique technique for over 30 years.

+

Years Pioneering Thread Painting

£

Embroidery Kits Starting From
FREE
Online Q&A Support Sessions
Our Story

Art born from
jungle and science

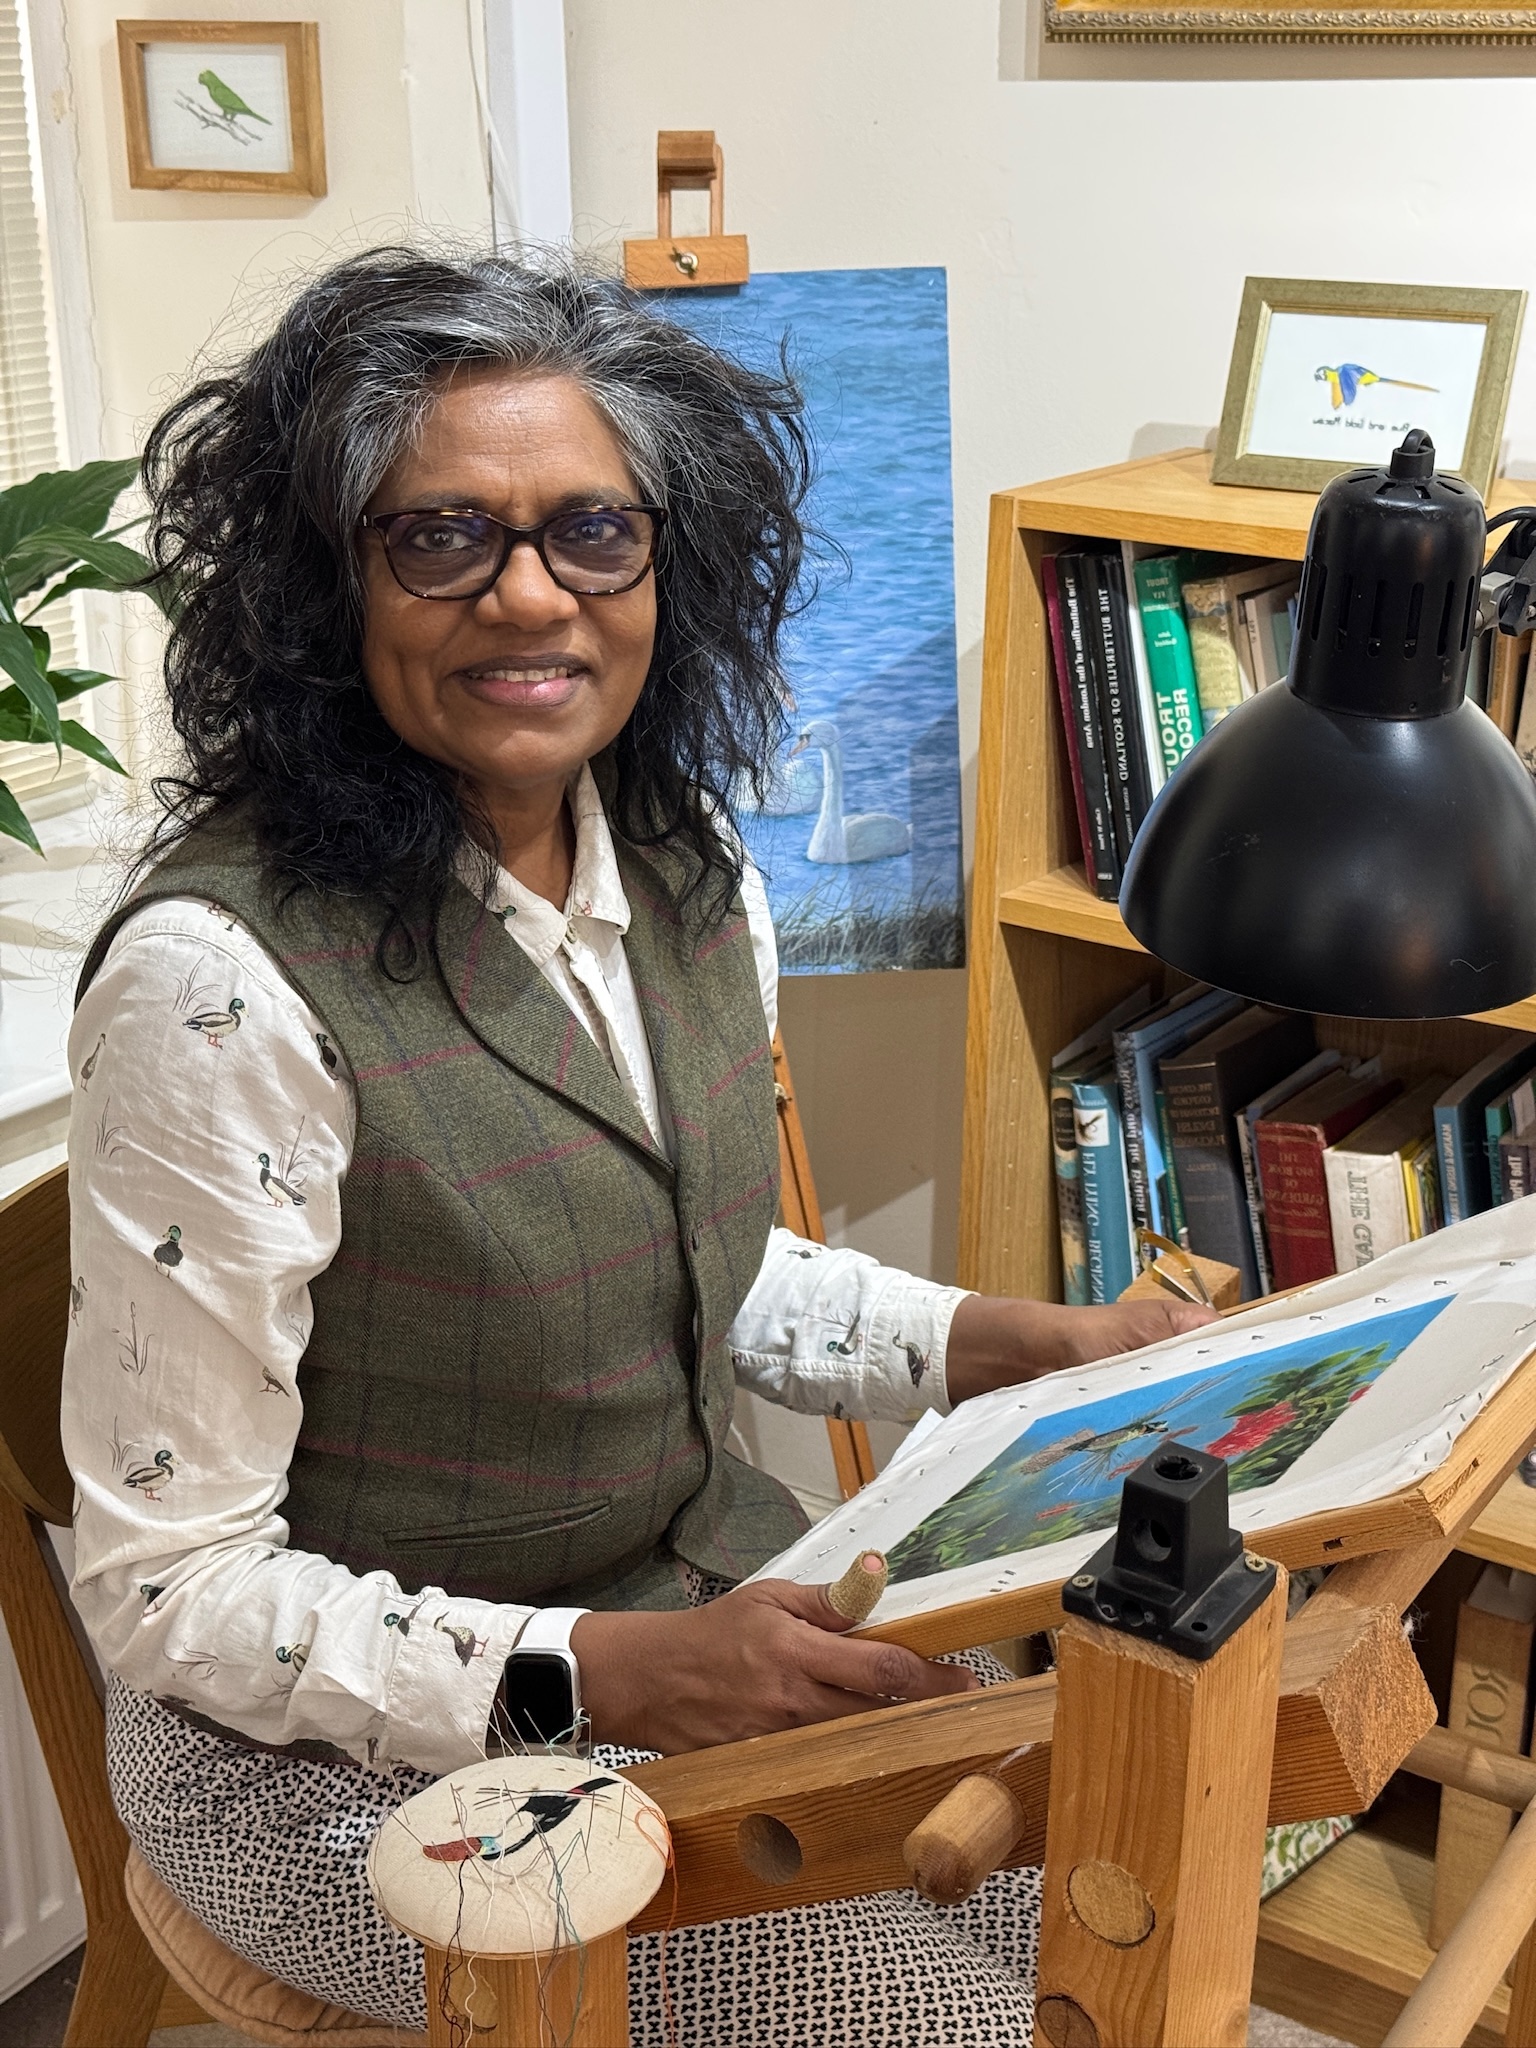
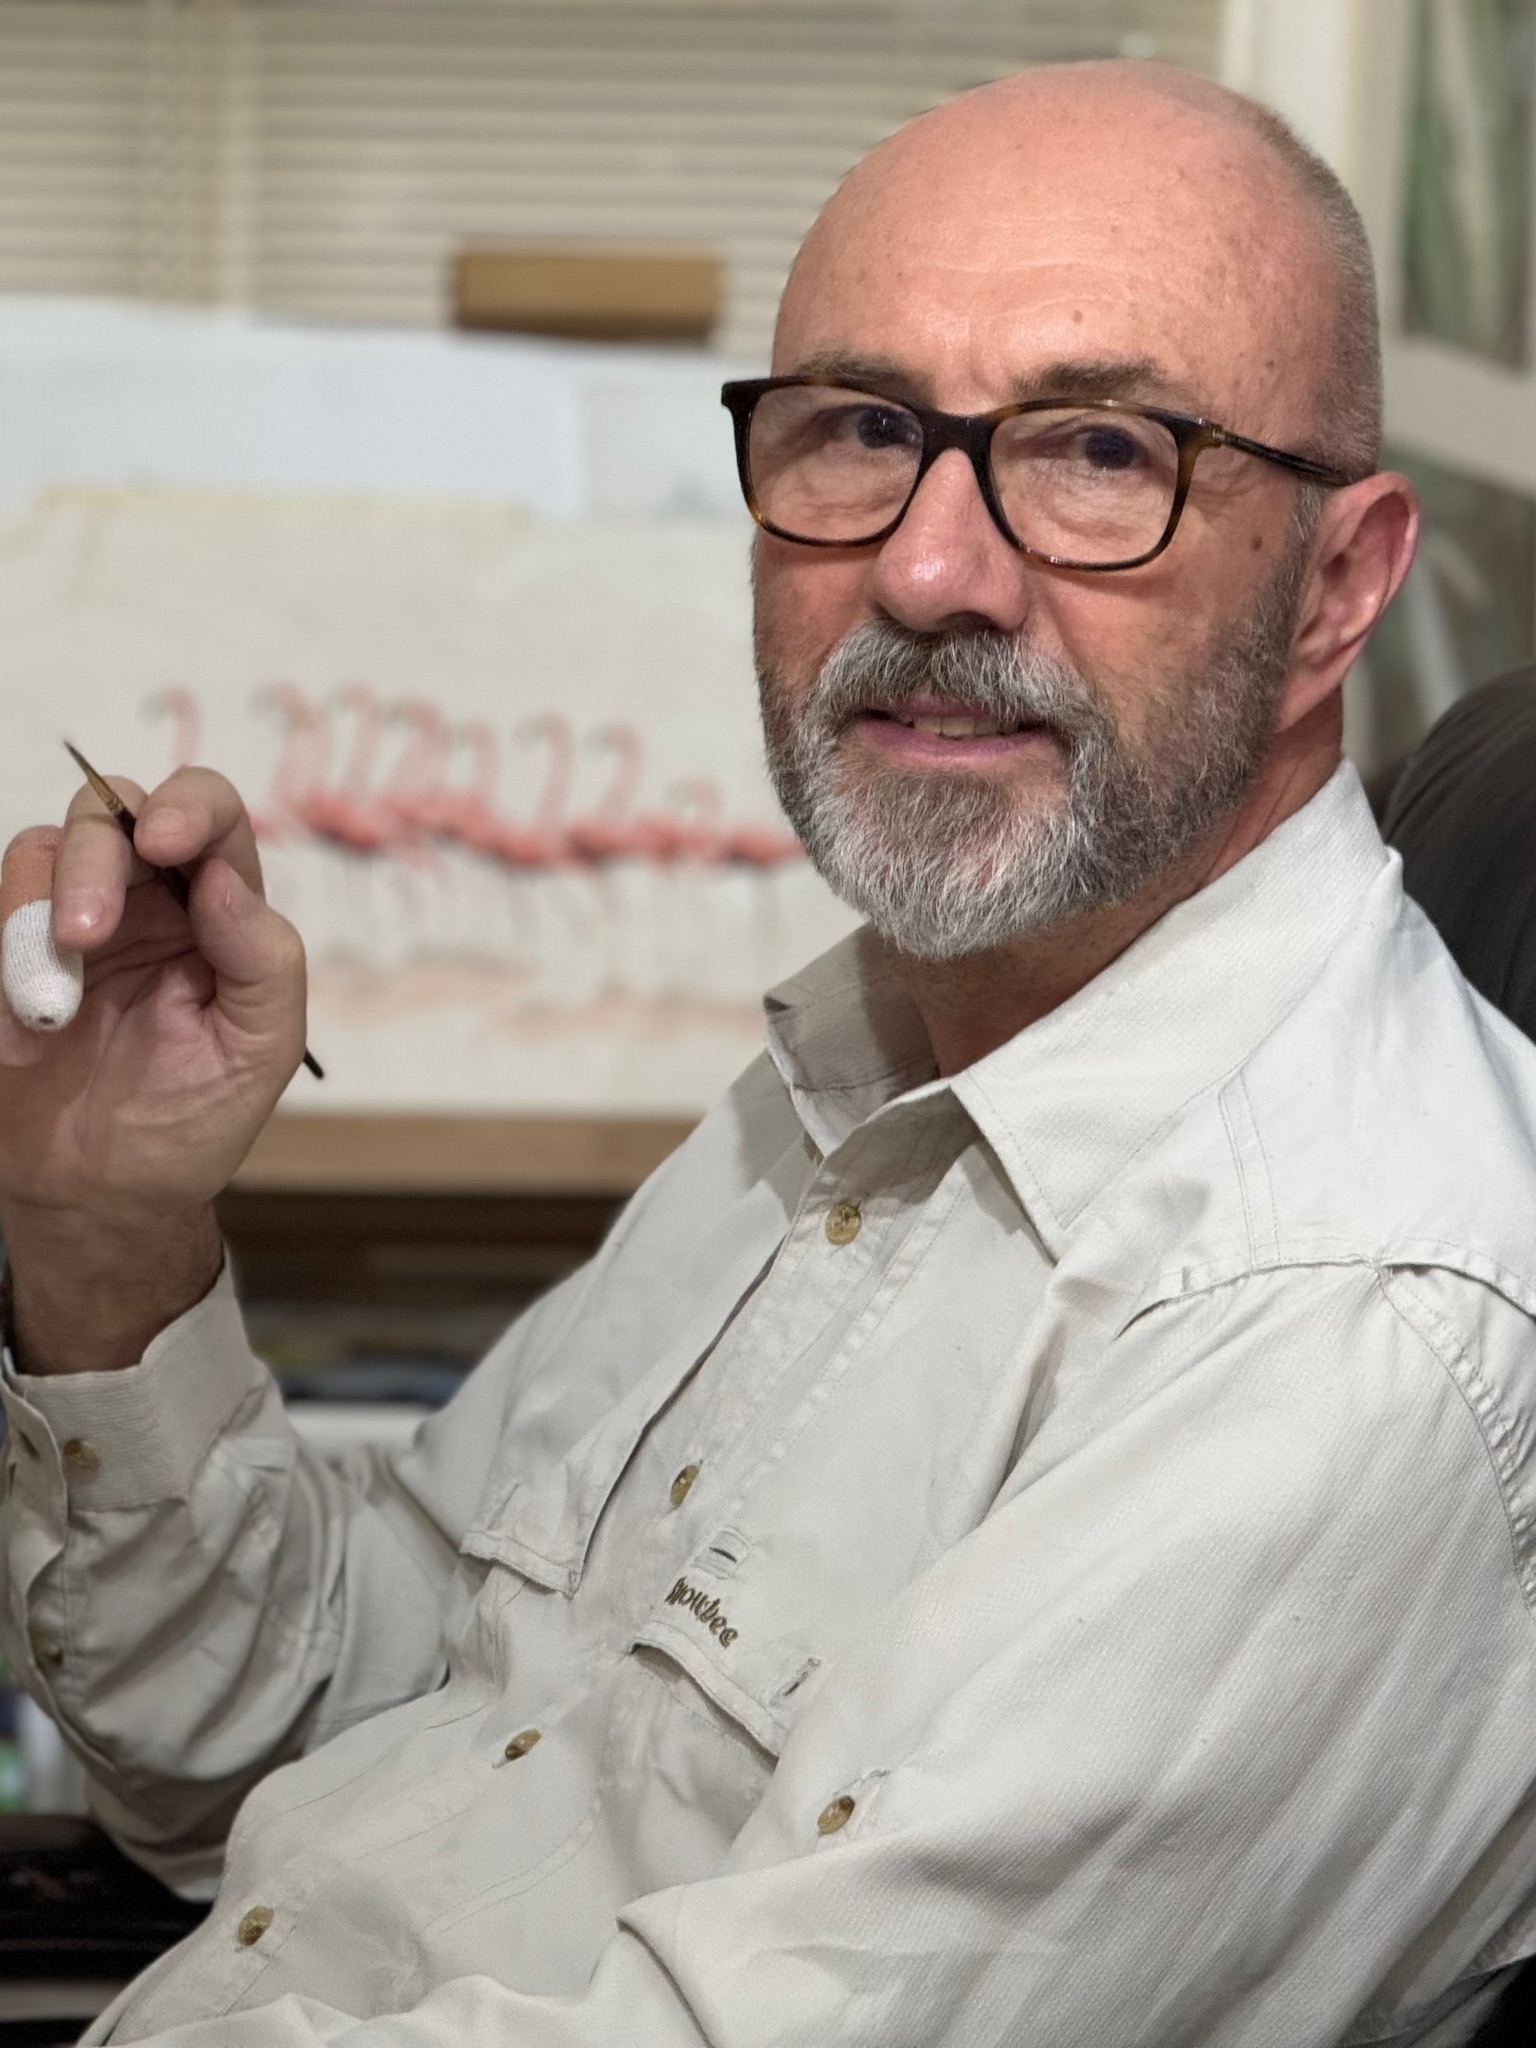
Chandra grew up in Guyana, South America, where her passion for embroidery began in childhood. Robert came to Guyana as a professional biologist, studying its extraordinary biodiversity.

Together they pioneered a highly detailed and lifelike embroidery technique called 'thread painting' — where intricate images are meticulously "painted" with thread. Today they live in the Yorkshire Dales, where nature continues to inspire every stitch.

Chandra

Embroidery Artist

Robert

Biologist & Artist
"Jangala is the Sanskrit word for Jungle — reflecting Chandra's heritage and Robert's life's work in tropical biology."
Latest News

From the Studio

Enjoy Thread Painting

Thread painting is a growing theme within the world of freestyle embroidery. We were pioneers in this technique and have been developing it for more than 30 years. So, if…
Read more

Welcome to Jangala

Welcome to the first post of our blog on our revised website. We have had the Jangala website for nearly 30 years,showcasing our thread paintings, freestyle embroidery, art, and the…
Read more
Easy Sew Technology

How thread painting works

Getting Started

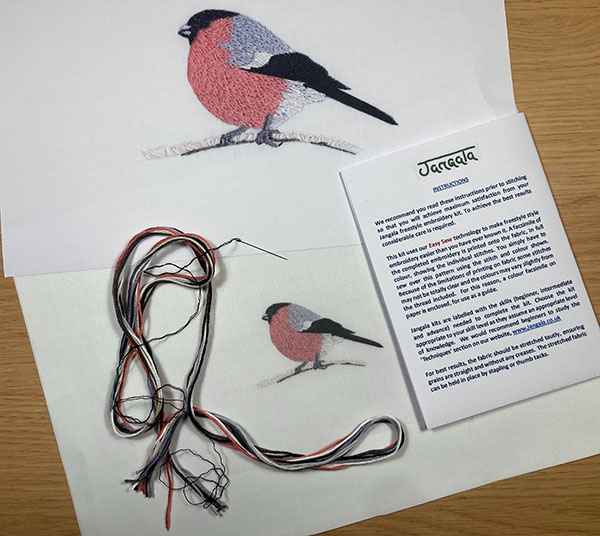
Before you open your kit there is one thing you should know. Never wash your Easy Sew embroidery. Never, never, never!
Washing will fluff the threads; it will disturb the lie of the threads and it will likely shrink the fabric (even pre-shrunk fabric!) making the threads loose. I've lost count of the number of patterns I ruined as a beginner before I learned this lesson. You must be very careful that you do not get the fabric or thread dirty; so make sure your hands are perfectly clean when stitching.
As you will not be washing your finished work we have used water soluble dyes in the patterns for various technical reasons. These dyes are extremely soluble so that a single drop of water (tea, coffee or other liquids) will cause a spot which could ruin your work. Even a misplaced cough could damage your work with a spot of liquid, so be extremely careful.

Stretching your Fabric

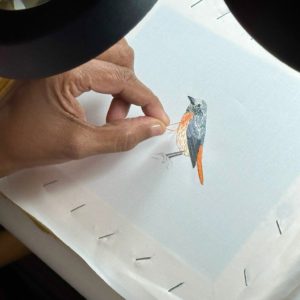
Stretching your fabric correctly is absolutely vital. It is one of the most important steps in achieving good results with thread painting. The fabric should be “drum tight” before stitching and firm enough that it cannot slip partway through the process. There is nothing worse than investing a lot of work only to find the fabric has loosened. This will radically affect the appearance and can be difficult to recover. See the video here for an example of the correct tension.
You also need to think about how you are going to display the finished work. If fabric is removed from a frame after being tightly stretched, it can crumple badly. After trying many different options, we now leave most work in the stretching frame permanently. Much like a painting on canvas, the work is framed in a mount using strong frames similar to those used for canvas painting.
This approach differs from more traditional embroidery, which is typically intended for clothing, furnishings, linens, or other functional objects. In those cases, the embroidery must remain flexible and robust, with a similar feel to fabric. When creating work purely for display, however, the canvas can be much more rigid.

It is possible to stitch on looser fabric if needed, and we have done so in the past. However, it is far more problematic and requires greater care and time. In particular, you must ensure that thread tension is even across the entire piece and that the fabric remains consistently flat and evenly tensioned throughout.

The suitability of looser fabric also depends on the pattern. Smaller, simpler beginner designs are much more forgiving. Larger and denser work places greater strain on the fabric, increasing the risk of problems and the amount of work lost if the fabric goes slack.

There are many possible approaches, and the best method depends partly on the individual and the specific characteristics of the fabric used. Traditional embroidery hoops are an option, and this is how we started. If you are familiar with this method, it may be a good place to begin. The quality of the hoop and your skill in using it make a difference. It is often better to do a good job with a less ideal method than a poor job with a better one. That said, our experience is that fabric in hoops is prone to slipping. While it can be retightened, this is not ideal.

We have also tried narrower interlocking frames designed specifically for embroidery. These tend to be flimsy and can bend or warp, leading to inconsistent tension.

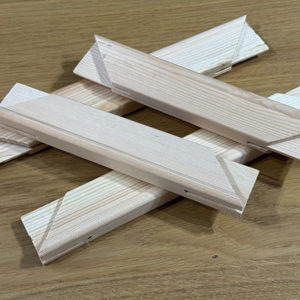
Ultimately, we find that more substantial frames such as those used for stretching artists’ canvases are the best option. Artists have used them for centuries for good reason. They work. Since switching to these frames, we are able to stretch fabric tighter, find the process easier, and achieve better results. The main reason to use hoops instead is when working on very large items, such as a bedsheet, where working section by section makes sense. This again reflects the difference in final use and technique.

When it comes to attaching fabric to a frame, staples are hard to beat. A staple gun is required, but they are inexpensive. We recommend an electric staple gun. Ours came from Lidl and works well.

It is possible to stretch material around a frame in the traditional artist’s manner, and this has many advantages. However, it requires a considerable excess of fabric around the edges. While this works well with loose canvas, we print our designs onto fabric using an inkjet printer. Allowing for that excess would require much larger prints, increasing production time, resources, and costs. For this reason, we prefer stapling. If you are transferring a design manually, however, stretching in this way is well worth considering.

Thumbtacks can also be used, but they are tedious and difficult to work with.

We describe our full procedure below. As with everything, practice makes a big difference, and you will develop your own technique over time. The key principles are even fabric alignment and even tension. Start by aligning the weft of the fabric with the edge of the frame. We begin in the middle of one side, though some people prefer starting in a corner. Everyone has their own approach. This is simply what works best for us.

Finally, remember that staples can be removed and the fabric retightened if you notice any unevenness. A good staple remover is essential. We recommend investing in a quality one.

Matching Colours

You are now ready to begin stitching. Before starting to stitch, check the colours of your threads against the colours on the pattern. It is difficult to get an exact match between the colours on the pattern and the actual colours of the threads. This is due to the limitations of printing technology. As a result you may find it difficult to match the two correctly, especially in a complex pattern. The solution to this is to lay out all your thread and match them up against the pattern. Thus, your pattern may have three blues; dark, medium and light. It is easy to match these up with the thread colours because you will also have three shades of blue in the threads and the correspondance should then be clear even if the colour reproduction problems mean that the dark blue in the pattern is actually closer to the medium thread.
In the more advanced patterns some of the colours may be subtle and difficult to identify, but with experience of the simpler patterns you should gain the experience to deal with this. Don't be intimidated by the pattern, there is a lot of flexibility in the pattern which allows for changes to the colours whilst still achieving satisfactory results.

Having now sorted out your colours you can start stitching anywhere on the pattern. We use single strand for all our kits.
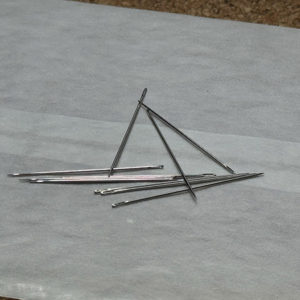
Whilst the supplied thread is multi-stranded, you will have to separate off a single strand. You may find it convenient to buy additional needles to the one supplied and keep several threaded up with the different colours of thread ready for use. The needles you need are size 10, embroidery needles. We have needles available on our online shop.

Beginning to Sew

There are hundreds of different embroidery stitches, but our kits use almost exclusively long and short stitch, or variations of this. Long and short stitch is one of the most flexible and simple of embroidery stitches. At its simplest it comprises stitches of uniform length placed side by side overlapping for half their length like tiles. This is how you will sew our simplest patterns, but in the more advanced patterns you will alter the stitches in various ways. The stitches can be longer or shorter which gives a different texture to the embroidery. You can also overlap the stitches more in patches to create 'cells' of plain texture rather like satin stitch. Indeed if you extend the threads of long and short to make the edges even it becomes satin stitch. You can also create textural effects by altering the thread direction so that threads overlap or the 'cells' are in different directions. The beauty of long and short stitch is that you can create such a huge variety of texture and pattern by altering the stitches slightly. If you study one of our advanced patterns you will soon see what I mean.

That's really all there is to it for the simpler patterns. Simply follow the pattern until it is covered by your stitching and that's it!

Blending Colours

In our advanced patterns you will need to blend adjacent colours. This is a very important technique in obtaining subtle gradations of colour which give an extra dimension to the embroidery. Most individual threads are visible in the pattern making it simple to follow the pattern and obtain required effects. It is simply a matter of blending adjacent colours by adding a few stitch of each colour to that part of the other colour which is immediately adjacent to it.

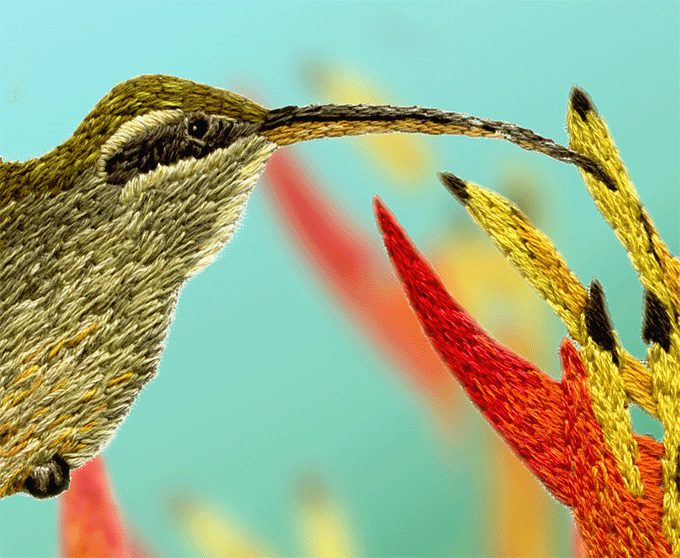
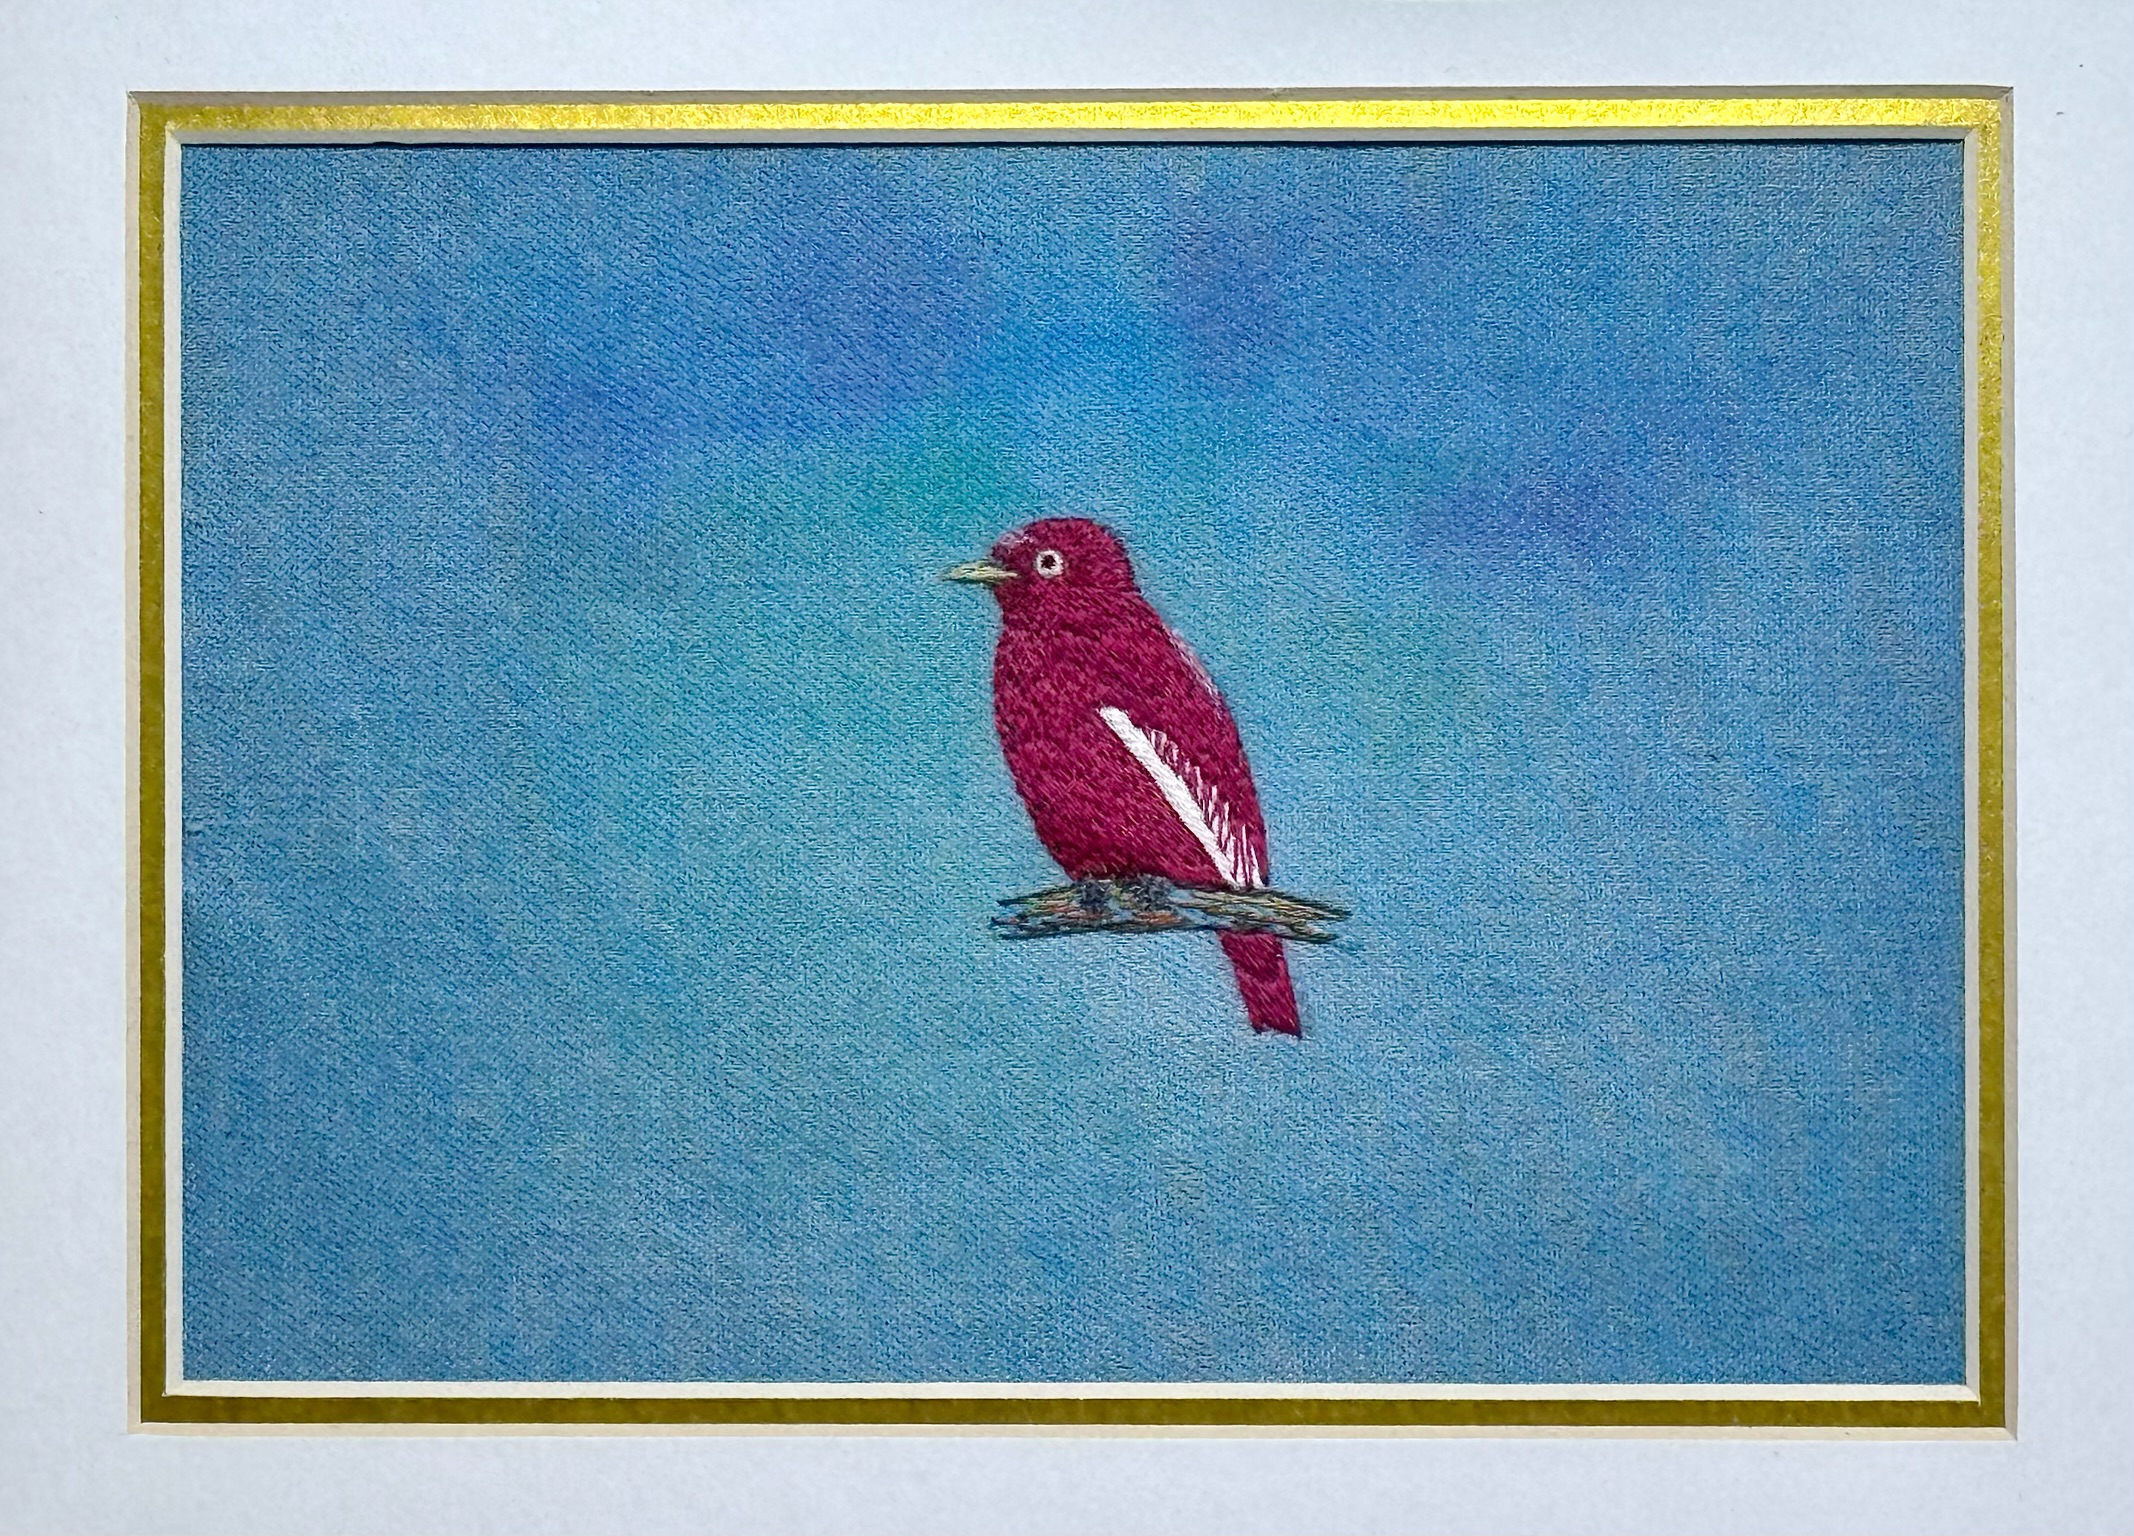
This piece shows the detail of the technique used. Minute stitches in many clolour are subtly blended to give great detail and superb texture. In the actual work the threads catch the light and sparkle and draw attention to the embroidery and give the work extra dept.
You can alter the extent of the blending by changing the number of stitches you add and how far into the other colour you add them. You can also create subtle effects, in bird plummage for example, by blending together several colours of thread over a wide area. The method can also be used to create the impression of a third colour which may not be available as a single colour. Blending can be quite complex, but again it is made simple by our patterns which enable you to see the individual threads and copy them.

Final Presentation

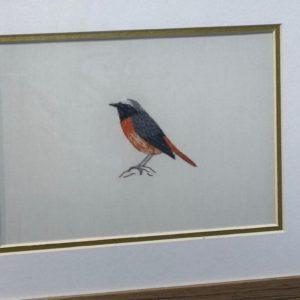
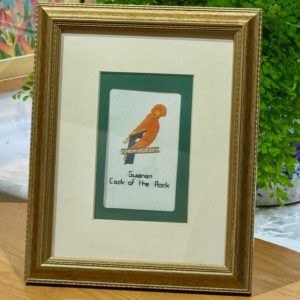
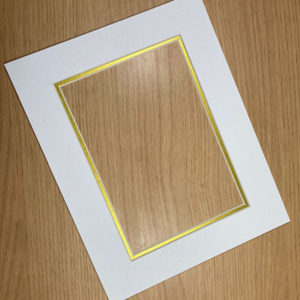
Your finished work will benefit greatly from correct presentation. Small patterns can by mounted in various kinds of greeting card, or made into book markers, drinks coasters, ash trays, or a wide variety of other objects. The choice is yours. In addition most of the patterns can by framed for display. You can view our display frames on our online shop.

Q&A

We hope this guide to freestyle embroidery will make your stitching easier and more enjoyable. We have arranged workshops to support you in completing your kit. We also provide limited free 'live online' support. Schedule can be found in the 'WORKSHOP' and 'EVENTS' section on this website. Alternatively you can contact us by completing the form in the 'Contact Us' section.

Tab Content

This is a basic text element.
WORKSHOPS

Learn from the pioneers

Our workshops welcome all levels — from complete beginners to experienced embroiderers. Whilst we list a specific kit for each session, we can be flexible.

We are happy to travel to your venue for groups of 6 or more. Free online Q&A sessions support you to complete your pattern.
Events

Free online Q&A sessions

Join Chandra and Robert live for personal guidance while completing your kit. Free of charge — register by emailing chandrabrown@jangala.co.uk

SHOP

Embroidery kits

Get in Touch

Let's talk thread painting

Whether you'd like to book a workshop, register for a Q&A, or simply know more about Jangala, we'd love to hear from you.
Address
1 Sleegill, Richmond, North Yorkshire, DL10 4RH, United Kingdom
Email
chandrabrown@jangala.co.uk
Jangala
© 2026 Jangala. All Rights Reserved.
Richmond, North Yorkshire
Jangala
Privacy Overview

This website uses cookies so that we can provide you with the best user experience possible. Cookie information is stored in your browser and performs functions such as recognising you when you return to our website and helping our team to understand which sections of the website you find most interesting and useful.